Thursday, September 30, 2010

More Plaster tests

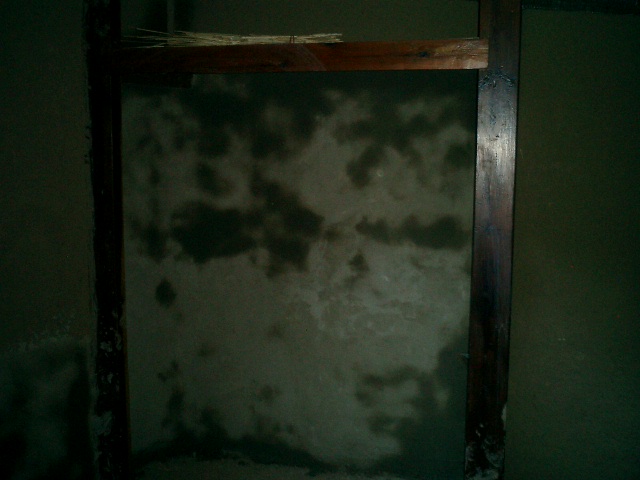
Here's the inside of the main bedroom closet, with 4 more recipes on it. We'll be watching it closely for cracks:

Here's the cracked up test section with some lime wash painted on it to see what that would do. Turns out that really makes it white! this was just one quick pass. If we did 4 coats or so on some good plaster, we should have some white walls.

Every so often, we forget to turn off the hose at the faucet overnight. Sometimes the pistol sprayer leaks a little bit, and even though we always put it back in a bucket, if we forget to turn it off, it leaks all over over night. How frustrating. This is where the wood stove will go.
Ceiling trim pieces

A while back I had a photo of these boards that were cut from a big log. Now they've been ripped, planed, sanded, puttied, grooved (on the back) and bug treated, and now they're ready for their final sanding and then oiling. Here they are outside the bathroom windows:

They are the ceiling pieces that will hide the seams of the reed mats. Here's the finished ones in the mud room:

Wednesday, September 29, 2010

Stairs and Plaster results

I've started putting in the living-room-to-kitchen stairs, now that I've gotten them flat(ter) and we've finished putting the discovery plaster on the walls.

Keeping them level and spaced the same as the future bottom step is tricky.


And, here's our finish plaster test, which not only didn't come out as white as we'd like, but cracked all over the place. we did 5 different recipes, and these cracks are the worst, but they all cracked some.

We also have to find out if we're putting it on too wet, or if we're over-working it, or what.

Sunday, September 26, 2010

We keep plastering....

We're in the last room for discovery coat plaster, just schmearing away til we get the job done. Here's Melissa working on the side wall of the closet:

Kayun is up visiting again, so of course we put her to work. We have to sift a bunch of sand for the finish coat. She seemed to get a bit obsessed with it, which was nice:

Thursday, September 23, 2010

First finish plaster tests

We got some white clay and sifted some sand to make up our test batches of finish plaster yesterday.

We struggled to figure out the best way to put them on, but it does seem like the walls are going to be pretty smooth. Here's a photo with a piece of white paper in it, to see how it looks when it goes on wet. It should dry much whiter.
What we need to do now is watch for cracks and dusting to see which mix works best.

Thursday, September 16, 2010

Some accents along the way

We have a bunch of tiles from my parent's house - ones they picked up in Spain, Mexico, the Netherlands... and since they are so nice, and weren't being used another way, we decided to put them into the plaster.

This one is actually a gift from Melissa's parents, one they brought back from Portugal. It's in the front of the end table:

We have 3 Dutch tiles in the front of the built in bench in the living room:

and a more modern Dutch one in the bottom of the kitchen book shelf. This photo shows off the new plaster quite well. Notice the wall above the windows too!

Here's the plastering process: schmearing stuff onto the walls

Discovery coat, before and after

Here's how the wall looked before we started plastering with the 'discovery coat', the plaster we're putting on that is both a sticky layer for good adhesion for the final coat, and thick enough to work out any errors and holes. You 'discover' that you had a dip in the wall that needs fixing.

here's the same spot, after the discovery coat. You can see its still drying (the dark areas) but that's the difference we're making on all the walls right now.

Wednesday, September 08, 2010

Plaster: the process

We've got the lath on the plywood over the windows now, which looks like this:

before:


During:

and after:

I'll try and take some when it's all dry soon.

Chain plane

some of the big fat madrone boards I had made last spring (?) have warped while drying out, and since I still want to use them, I rigged up a planing situation on the chainsaw mill.

I had to use the 2x4s to hold it up, as it's too thin and too short to sit on the bed properly... and that also allowed me to screw it down to the boards, holding it in place while the chainsaw took off about 1/8th of an inch.

and it worked!

Sunday, September 05, 2010

Next Chapter! Interior Plastering

We finally started on the interior plastering, and man is it great to get back to working with mud. It always feels great to start a new part of the project, and this plastering is the stuff that starts covering up the mistakes and making things look better. We started in the kitchen, as we wanted to practice where it won't be seen; behind the kitchen cabinets. We only went up as high as our shoulders on the first day:

(I think the camera is dying) Here's the first plaster the next morning, already drying quite a bit.

this is the best looking new section (so far) and while the photo doesn't show it well, it does look better than before. You can also see here where we've filled in below the windows, which will be the 'back splash' of the counters.

Design Mistakes in my cob house

So, I have long meant to create a list of mistakes I made when designing the finishings on our house.  Now that we've lived in it for a ...