Saturday, September 30, 2006

Getting the Generator out of the Box:


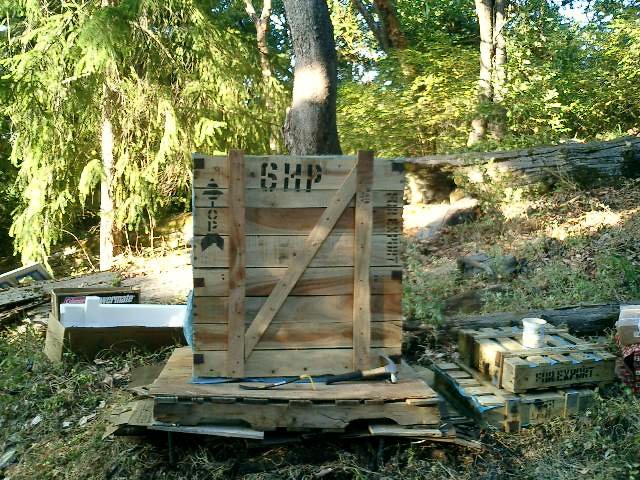
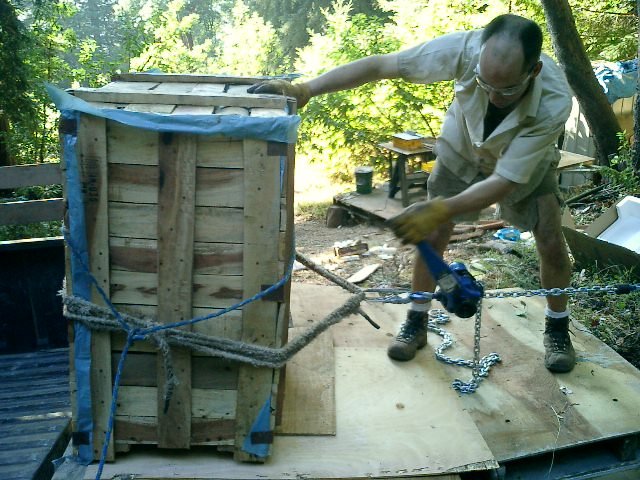
Our new Lister Generator came shipped in a huge, hard-to-open crate. I'd heard of other guys having trouble getting them open, and of course I thought I'd have no problem...


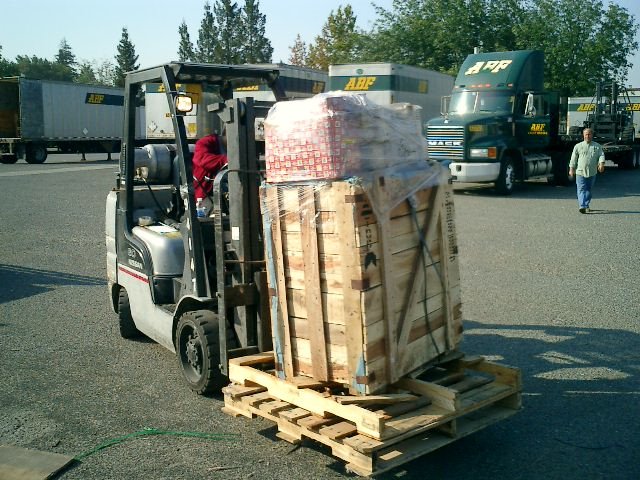
First, getting it off the truck was a bit of a challenge:


When I finally got the top off, this was my first look inside. Lots of plastic:


Got the walls of the crate off, it's still bolted to the floor of the crate:


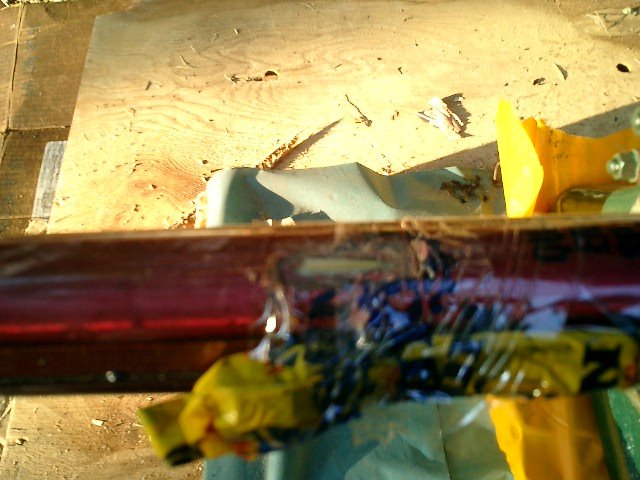
A little bit of damage during shipping: the interior cross bars of the crate rubbed against the axles, taking off the red film. Not sure what I'm supposed to do about that film... also notice the few parts taped to the axle.


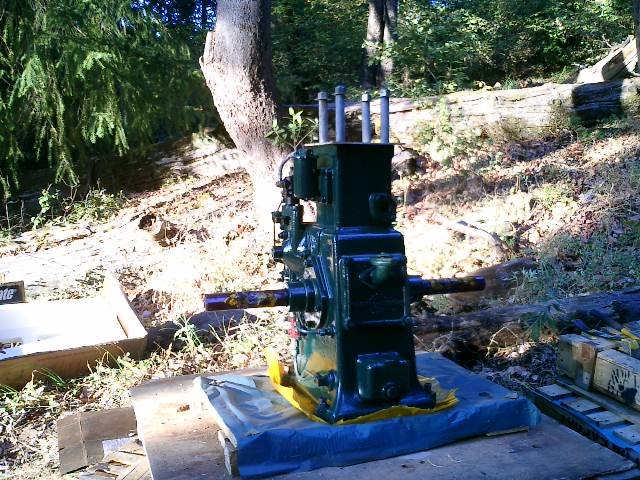
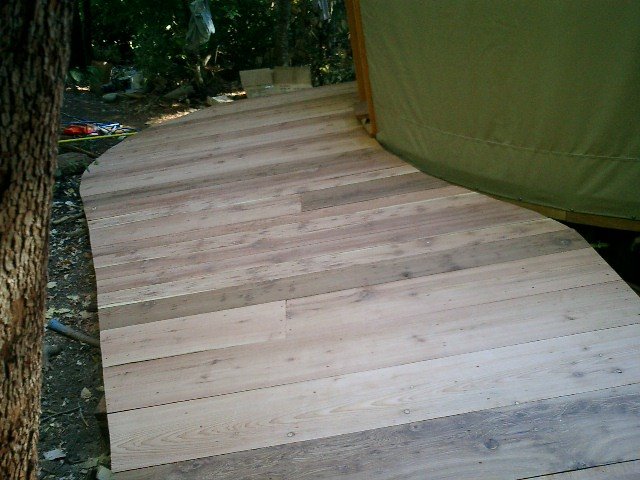
Here she is, out in her new spot:

Friday, September 29, 2006

Generator Arrives!


I went to the shipping depot to pick it up. Here's the guy bringing it over to my truck. that's the whole package:


Here's the 'temporary-get-it-off-the-truck' pad I made... well, the first level. I put greasy oil container cardboard down, then plywood, then a sturdy pallet, then more plywood, and used big inch thick 3 foot long rebar as supports driven into the ground.


With a chain wrapped around a tree, my winch attached to that, rope wrapped 4 times around the crate and a triple layer ramp, I was actually able to easily pull it off the truck. Note the firewood as extra bracing.


The whole thing, sitting on it's home spot until I get some footings in the ground. I love the 6HP on the crate. Those boxes to the right are the fly wheels.

This is country math:

bucket of chain scrounged from cement yard: $0


One and a half ton winch off Ebay: $79


Moving a 700 pound crate full of cast iron generator with one finger: priceless


Monday, September 25, 2006

Bathroom sink goes in:

The legs look a little spindly right now, but when the tiles go in, it'll be better. it looks pretty good, actually.


Thanks Peter and Deidre for the sink! (the counter was just two ends we cut off the deck glued together and shined up. nice.


Cold drinks, here we come:

I built a cabinet around our 'RV' propane fridge. it's attached at the bottom by those little bolts. Let's here it for extra bolts in the tool box!


here's the front, before the trim goes around the top, and the tiles go on:


Working towards the details:

I've been working on the cabinet that will hold the kitchen sink. Here it is ready for tiles:


Here I am, trying to remember why I made it this shape and how the tiles are supposed to go:


Check out the 'feet' of the cabinet. Because it's really really hard to make things sqaure without a table saw or other big equipement (oh, and experience), AND the floor in the yurt has different levels to it because of the long planks of redwood, I came up with this design. I'll put the hex head screws in a little rubber foot thing, and if the thing wobbles, I can simply use a crescent wrench to lower or raise the legs. nice, huh?

Sunday, September 24, 2006

Tile and Counters


Melissa's been working on the shower-tile prep;


it's quite a process. thinset, hardybacker, mortar, membrane, hardybacker, mortar... now we're getting close to the tiling part...


Melissa was using her hands to spread the last of the mortar around so as to get the proper slope to the floor.
Some Plumbing Gets done:


We've actually done all the plumbing for the water in the bathroom, but some of it was tricker than others. Here's the 'shower mixer' attached to the water lines. Notice how the torch for the solder actually burnt the piece of redwood I had in place to be extra support for the pipes.


Ooops. doopey me.

Wednesday, September 20, 2006

Learning more things about building a bathroom:


'sweating' pipe, which really means heating it up and adding soder:


Melissa puts down the first layer of 'thinset' to 'glue' the concrete to the plywood subfloor:


we have a shower pan that's about 7 feet by 3 feet:


More outside bathroom work:


Once I got the exterior walls up on the bathroom (redwood planks meeting together at the sides, with 'batten' stripes nailed between them to cover the seams) Melissa got to work sealing the redwood with deck sealer. Here she is getting woozy from the fumes:


Here's the front of the outhouse, with the traditional moon carved in the front:

Chimney goes up


Today we put up the chimney for the wood stove. Here's a picture of me a couple days ago, right after I worked up a sweat digging a hole for the footing of the support post.


Melissa's dad, Art, came and was a key part of us getting the post up, as well as the chimney. Here I am testing the strength of the shelf that holds the chimney. the pipes are about 90 pounds all together, and while you can't tell from this picture, I'm standing on the thing with one foot, and not holding onto anything else. (it's about 11 feet off the ground, by the way)


Here we are putting up the last, top piece.


Skylight on the bathroom -


I used 6 inch 'off the shelf' flashing in 10' roles. I bent them to fit my 'skylight' (a sliding glass door I found at a house demolition site) by squeezing them in two 2x4s, and pounding the corners square.


I hadn't originally planned to do a skylight, so the rafters are a little odd, and my cool 'tree' in the middle of the bathroom comes up into the glass instead of the roof, but whatever, it's a cool skylight. here you can see the flashing on the outside.


and here's a shot from the inside:


Tuesday, September 19, 2006

Wood stove is in, but not ready


A while ago, I got a wood stove from someone off Craigslist, and now we finally managed to get it into the yurt. I got some slate tiles at HD, and with a little slicing, a plywood backer, and some cast off trim that we got at a salvage yard, I made the little pad for it.

The chimney will actually go out the side, then up quite a ways.

Sunday, September 10, 2006

More Bathroom work:

Because we're doing a bunch of other things as well, it feels like the bathroom is taking forever... but we are getting some stuff done.


A couple walls went up:


and so the shower area is done,


and the window in the shower area is cut out:

Friday, September 08, 2006

New Tool shed goes up


we found a free metal tool shed via the wonderful Craigslist the other day. Got it home quickly, then put it up the next day or so, after building a bit of a platform for it. Then, I built a deck out from the door, as I needed more space.


Here you can see the view to the western horizon, on a sort of foggy day.
More bathroom work:


Melissa painted the framework of the bathroom, to help with moisture protection and good looks.


She got a lot of paint on herself as well.

Monday, September 04, 2006

The Bathroom starts going up


first, a view of the joists underneath the bathroom, so that my building friends can see that I do support my floors. There's no picture of the next step, but I have (old) 1/4 inch plywood underneath (new) 3/4 inch plywood for a real solid floor.


I built each wall frame, then put them all together.


Once they were standing and nailed together, I both nailed them to the floor,


and screwed them in from below:


I notched all the ceiling joists so that they'd lay more flush with the walls, and screwed them down as well.


Here's what it looks like at the end of the day.


Saturday, September 02, 2006

Finishing the deck:

we again rented a sander, and this time did a better job of setting it up, and buying extra sand paper. Here's the deck, after sanding:

looking south:


looking north, towards the bathroom:


and after the sealer has been put on and dried. Finished - ta da!

Design Mistakes in my cob house

So, I have long meant to create a list of mistakes I made when designing the finishings on our house.  Now that we've lived in it for a ...