Some other little things I've been up to:
I got a truckload of old cedar shingles a while ago (weird day of going down to Morgan Hill, CA and digging through these folks' back yard pile [5 feet high, 20 feet wide]) and I used them to cap off the roof of the bathroom/outhouse... but I had tons left over.
So, I've made some little spots for firewood storage. I think they look pretty cool.
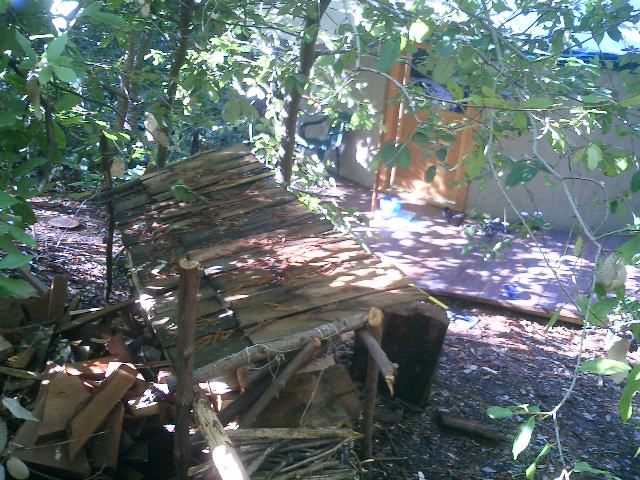
This is the 'close pile' for when it's raining and you don't want to go too far to get more wood.

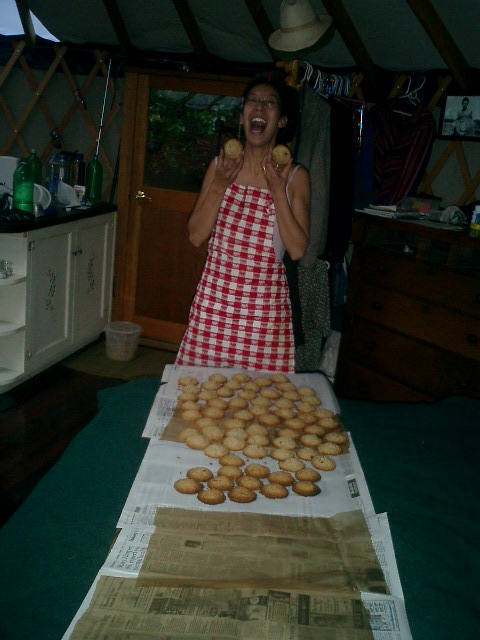
Melissa has been making 'kindling bundles' by wrapping dry redwood needles and small sticks in a burrito of newspaper. This way, we can easily carry in kindling without spilling stuff all over the yurt, and the whole thing goes into the fire, burning hot and fast, getting things going.

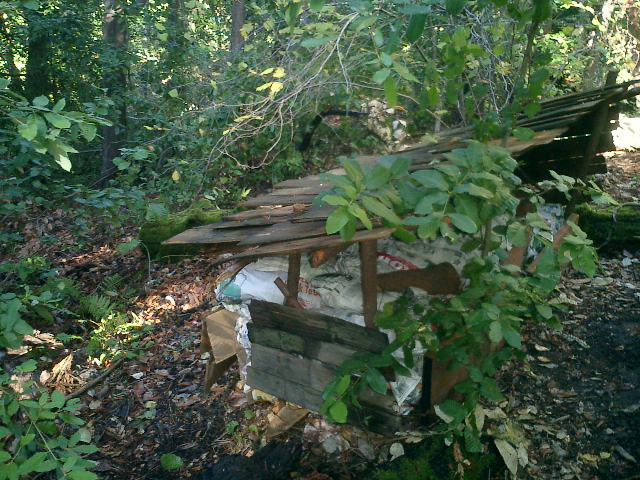
This is the 'deep' firewood pile, with I think two rows of wooed piled behind the front stuff. When we took down the old oak to put up the yurt, I milled a bunch of it, but the stuff that was too curved or rotted when towards firewoood... but it's still so darn hard, I can't split it with my maul. That tree came down last May! so that oak is sitting in the back, I hope waiting for next winter.

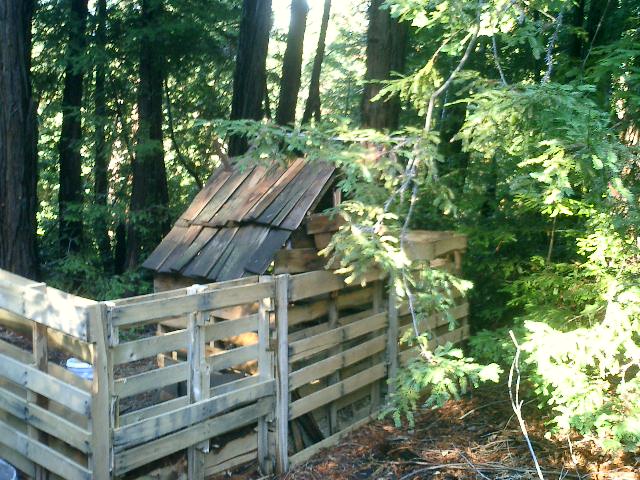
Anyone who comes out here has to take the tour, and one of the mandatory stops is the compost pile (since no one would go there by themslves) and I'm really proud of my little roof for my hay pile, one of the bins of the composting system.


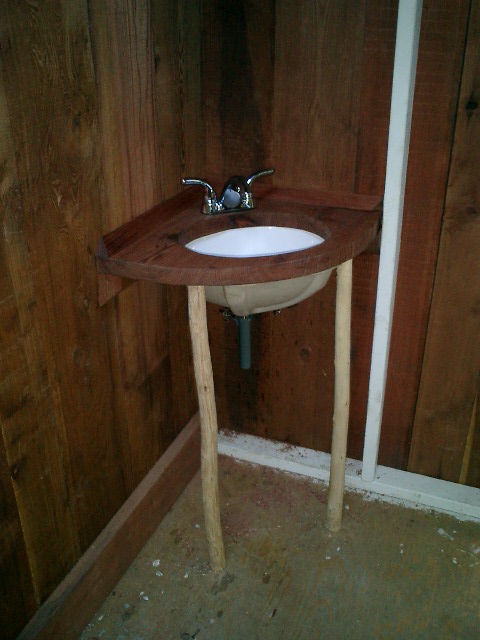
.jpg)
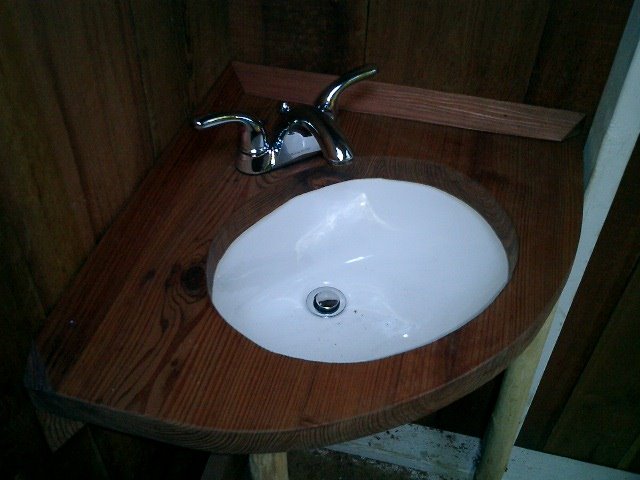
.1.jpg)
.0.jpg)

.jpg)