and so begins the sanding and finishing week. First, a lot of sanding with the very annoying, not working well sander.
.3.jpg)
then, more and more sanding:
.3.jpg)
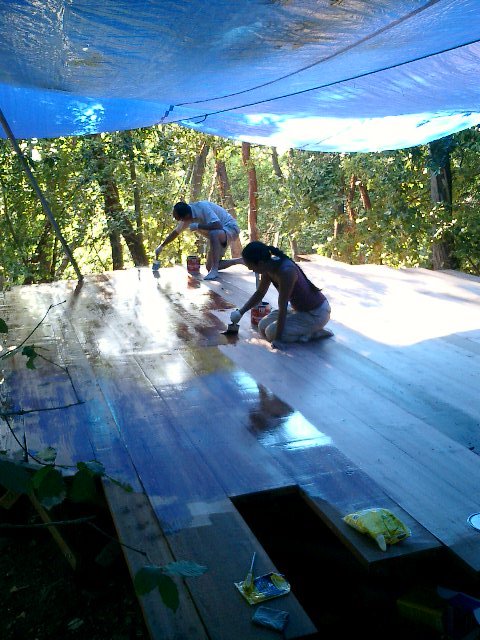
Then, Melissa and I put on about 4 coats of polyurathane. The tarp is to keep leaves from falling on the wet surface.
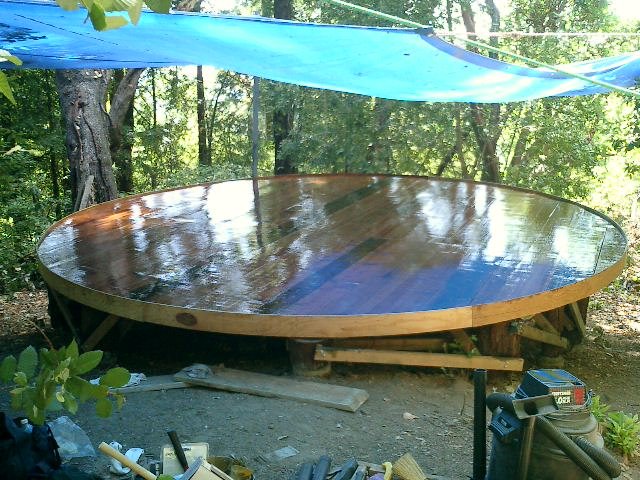
after cutting the circle, we put on a little 'drip edge' that works with the yurt walls. Notice we're using the level as a guide to figure out how high above the floor the edging should be.

This isn't the last coat, but it looks pretty much like this.


No comments:
Post a Comment