Monday, November 27, 2006

The Tile update:


Melissa has completed the tiling of the shower, and it looks outstanding.


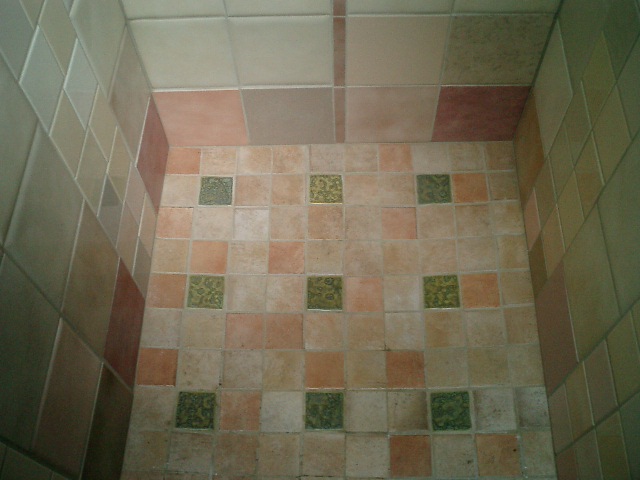
Here's the floor, with tiles from our neighbor (up here) mixed in with tiles from the stash we found in the back yard of a house that was being demolished. She had to cut the terra cotta colored ones up to get to the 4x4 inch size.


here's the north wall, with the window. You can see the little latch I carved to hold the window shut. just a stick with one bolt through it, and a notch.


The same north wall, and you can see the skylight. (sliding glass door also from the demolition site)


This is a view out of the shower, looking out the window back towards the yurt. Note the towel hooks, again carved from redwood branches.


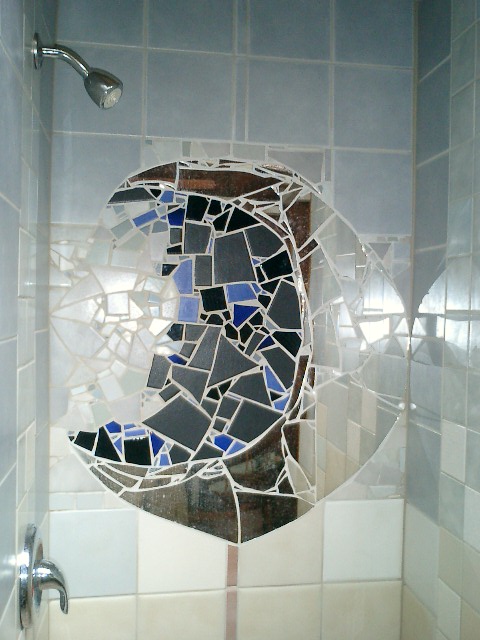
And, the highlight--- the mirror moon mosaic! Pretty amazing, huh?
Sunday, November 19, 2006

Getting the garden started


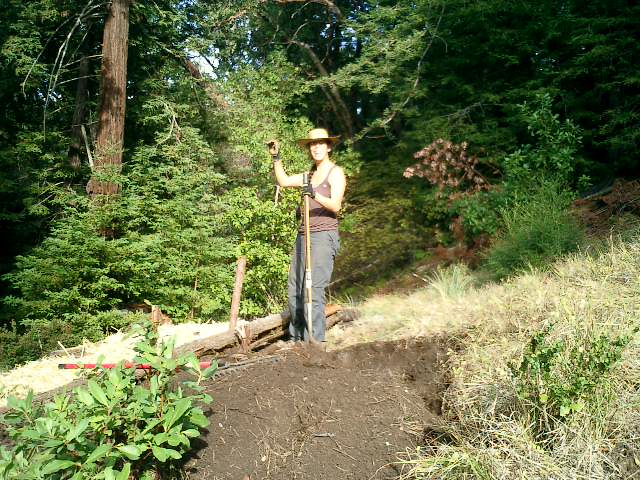
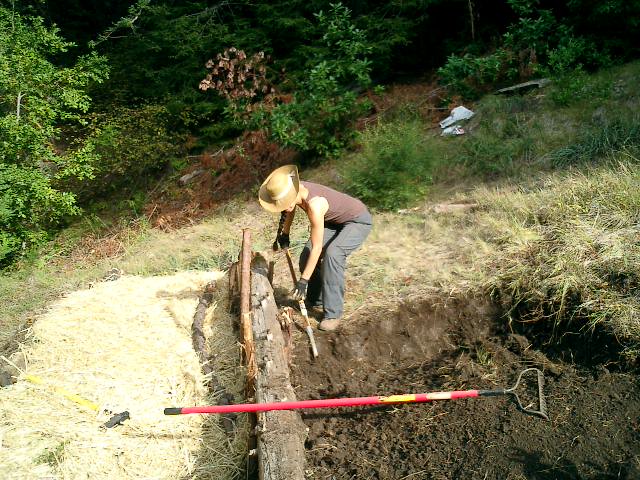
I don't know how this happened, but it seems the pictures that were taken today show just Melissa working... when in fact I believe I did all the work.

In these pictures, you can see (us..) working on the second terrace of our garden. We'll probably do a total of four levels. The first one is done, and covered with straw, to keep down the weeds and protect from heavy rains this winter.

We're using old logs from around the area as the 'retaining' walls between terraces, with good-sized redwood branches as posts. I'm surprised we're already working on the garden, as I thought we wouldn't get to it until next spring.

Wednesday, November 15, 2006

Some other little things I've been up to:


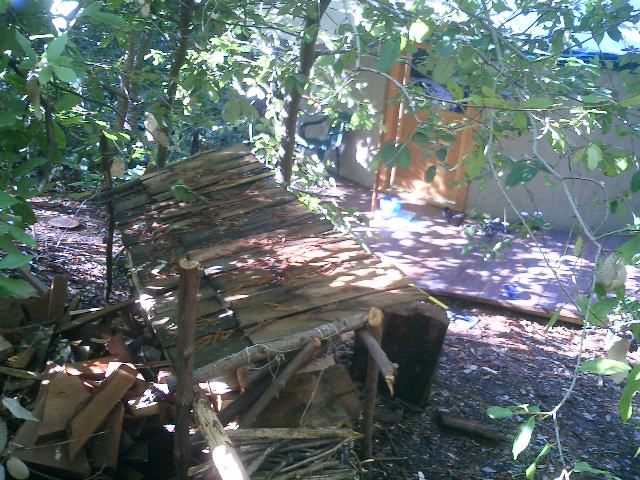
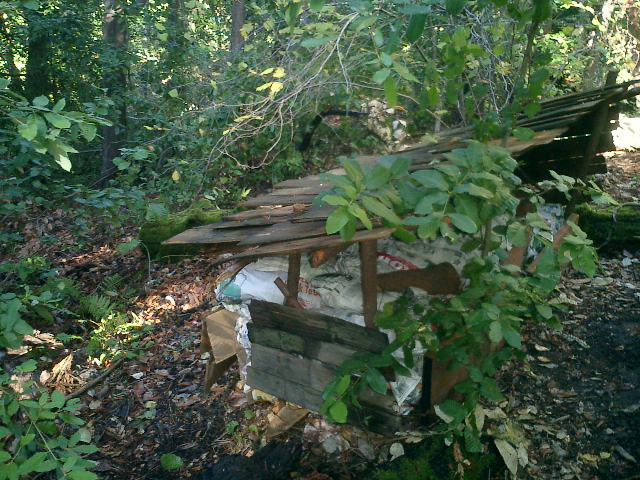
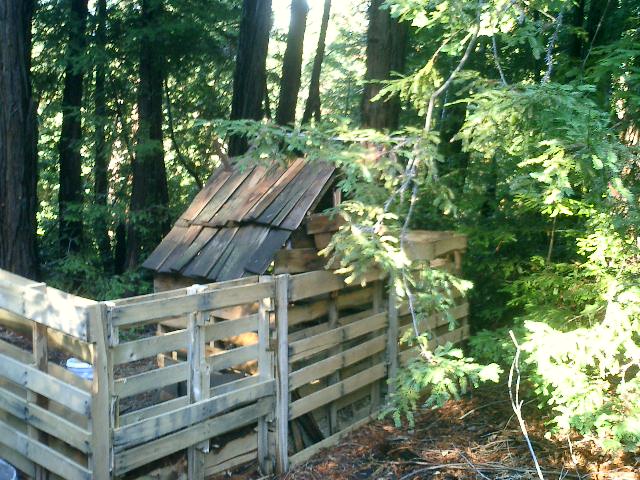
I got a truckload of old cedar shingles a while ago (weird day of going down to Morgan Hill, CA and digging through these folks' back yard pile [5 feet high, 20 feet wide]) and I used them to cap off the roof of the bathroom/outhouse... but I had tons left over.

So, I've made some little spots for firewood storage. I think they look pretty cool.


This is the 'close pile' for when it's raining and you don't want to go too far to get more wood.


Melissa has been making 'kindling bundles' by wrapping dry redwood needles and small sticks in a burrito of newspaper. This way, we can easily carry in kindling without spilling stuff all over the yurt, and the whole thing goes into the fire, burning hot and fast, getting things going.


This is the 'deep' firewood pile, with I think two rows of wooed piled behind the front stuff. When we took down the old oak to put up the yurt, I milled a bunch of it, but the stuff that was too curved or rotted when towards firewoood... but it's still so darn hard, I can't split it with my maul. That tree came down last May! so that oak is sitting in the back, I hope waiting for next winter.


Anyone who comes out here has to take the tour, and one of the mandatory stops is the compost pile (since no one would go there by themslves) and I'm really proud of my little roof for my hay pile, one of the bins of the composting system.

Sunday, November 12, 2006

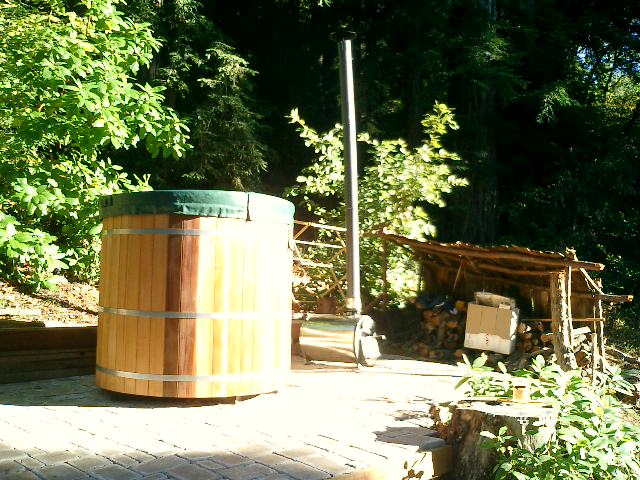
The Hot tub is in


It's small, (4 feet in diameter) but is just perfect for us as a vast majority of the time, there's only us up here. Of course, when friends come up, we just end up being friendlier! (note the little firewood shed on the far side of the patio. keeps the wood dry!)

Wednesday, November 01, 2006

So, once the hot tub got set up, I slipped off to LA for a work thing with my buddy Tom, and then we drove back, wine tasting on the way... so not much work was done last week.

I did set up a page on my website for further adventures of the generator, as I'll probably end up getting so specific that no casual reader of the blog will be interested. Check out www.ideamountain.com/lister.html if you want.

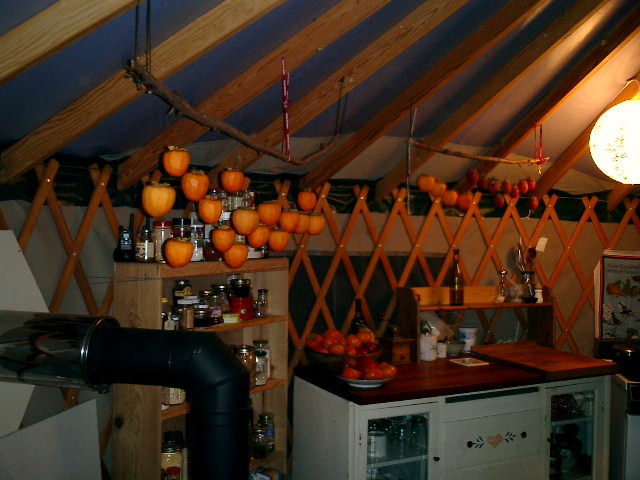
I'll try and take a good picture of the hot tub soon. We did get the first few persimmons peeled and hanging to dry. They make great holiday decorations.

Tuesday, October 24, 2006

The hot Tub patio begins...


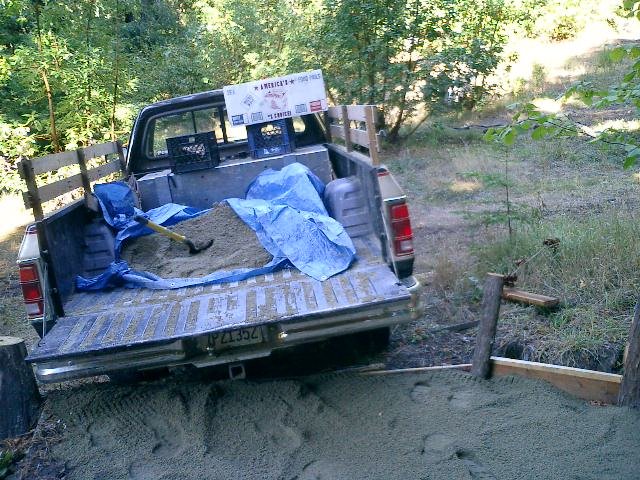
So I broke down and actually paid for paving stones. Got a good deal on a ton and a half of nice ones someone ordered and didn't like. Here's half the load out of the truck.


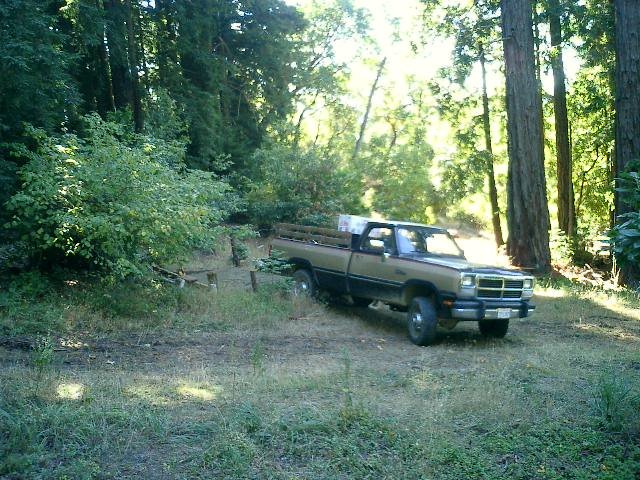
When working on the patio for the hot tub, I pulled the truck right up the the space, so as to not have to lug the rocks and sand too far.


Here's the $10 worth of sand I paid $40 for (they had a minimum charge. sheesh)


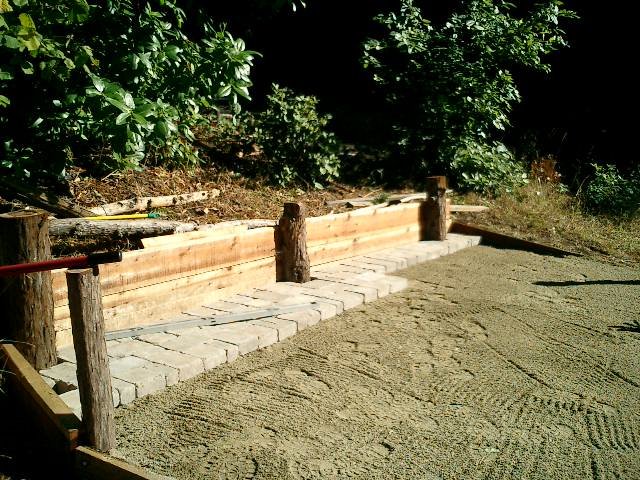
Here's the first two rows looking pretty good as they go down. It got worse from there.

Wednesday, October 18, 2006

The rest of the water story....


country math, continued:

Time spent finding all the *wrong* parts to hook that wrong pipe up:
1 afternoon
Money spent on wrong parts:
probably $50ish

Time spent finding the right parts:
most of a day
Money spent this time:
$430ish (includes the new pipe)

Frustration yelled into the sky:


Tons.


Next day (or the day after that):

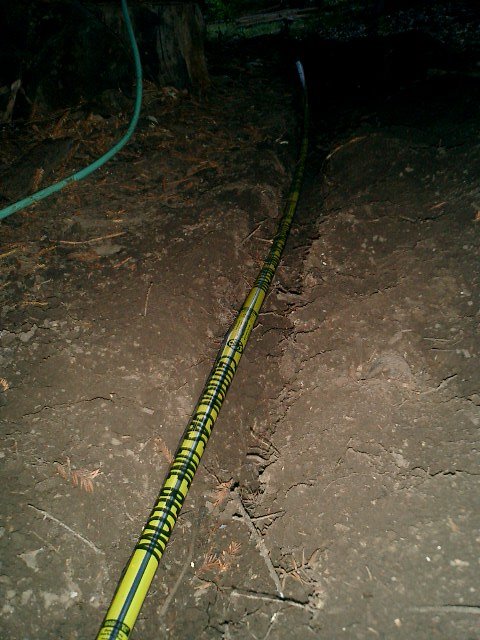
fill in the trench by hand, leaving 6 inches or so, lay down metalic caution tape so that metal detectors or people digging will know there's a couple pipes down there:


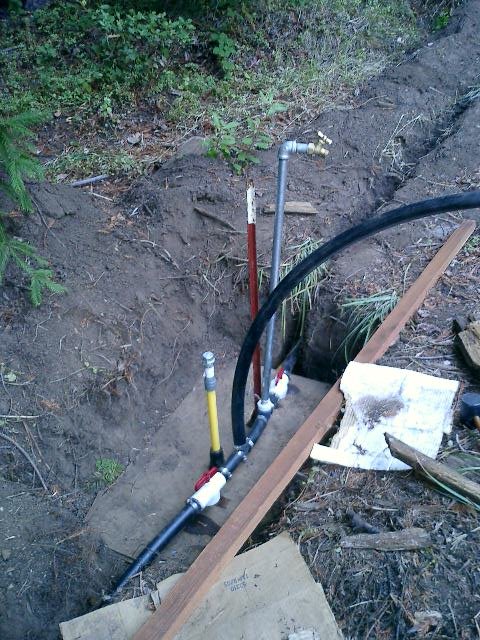
and leave a spot open so that we'll have access to shut off valves, and the future house connections:


Then, I'm not even going to tell you about the leaks in the copper pipe that had to be redone, the leak in the shower 'mixer' which meant I had to cut a hole in the wall to get at it, and the trouble starting the water heater (finding more leaks), so, let's just say 'plumbing's done!'

Thursday, October 12, 2006

The long road to running water, part 1:

more country math:

First, dig a trench with the rented 'ditch witch'.
407 feet of trench = 3 days of sore back


trench,


more trench,


still more trench,

all the way to the yurt, trench.

take a day and get 450 feet of pipe from your neighbor:

one day pipe wrangling = 7 days knee trouble:

Put it all in the ground, cut the pieces to fit the risers and shut-off valves, test your glue before you start, forget to check to see if it holds *with water*... then, when finding out about the right connectors, find out that it's not even the right pipe. Load it back on the truck to take back to the neighbor.

Wednesday, October 04, 2006

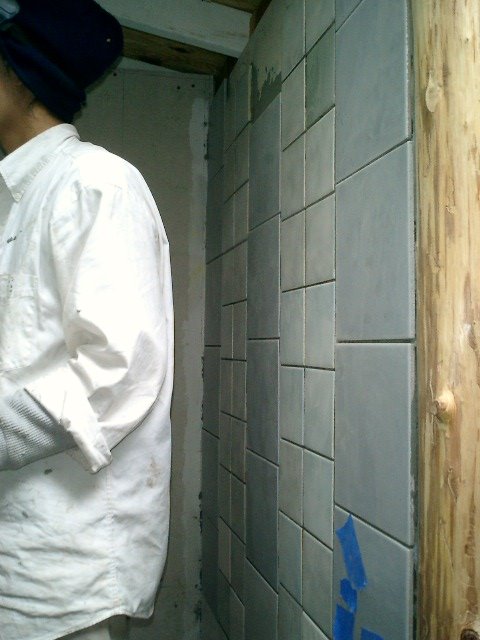
Melissa gets further with the tiling:


working up the north wall:


and the south (interior) wall:


Kitchen gets dropped in


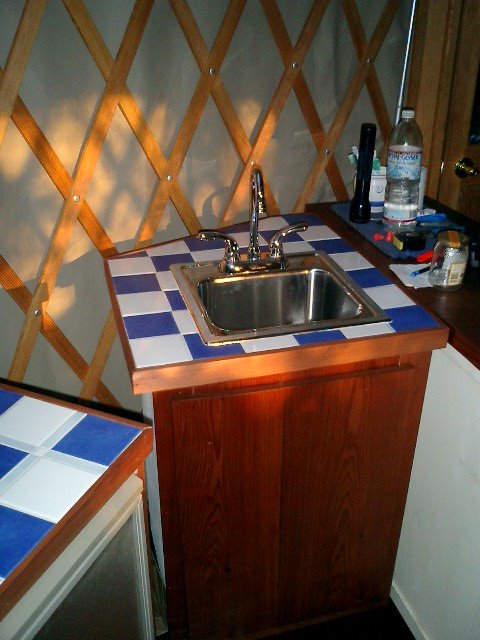
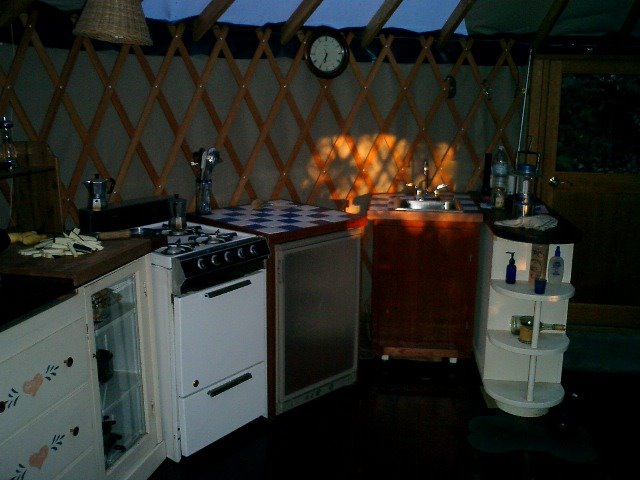
The tiled counter tops are done, the redwood trim is on as good as it's going to get, the pieces are in place, and there's water and drain lines in. (not connnected to anything on the outside, but in)

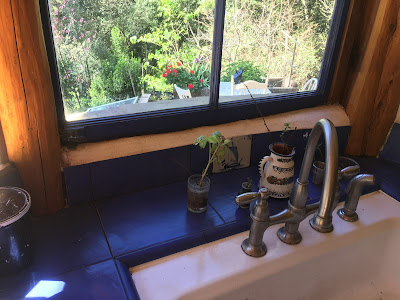
Here's the sink in the afternoon light:


The fridge is also in place, waiting for it's propane hook up:


and the whole kitchen:

Tiles Tiles Tiles


Melissa is doing all the work on the shower:


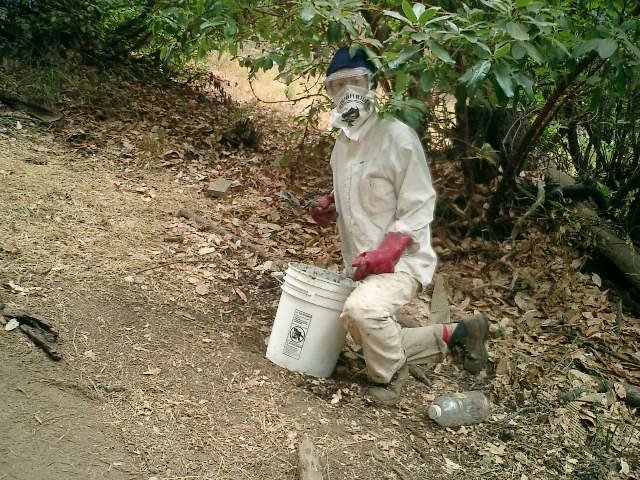
Here she is, working with the potentially toxic 'thinset' (the goo that one uses to stick the tiles to the wall) wearing her 'Tile Ninja' outfit.


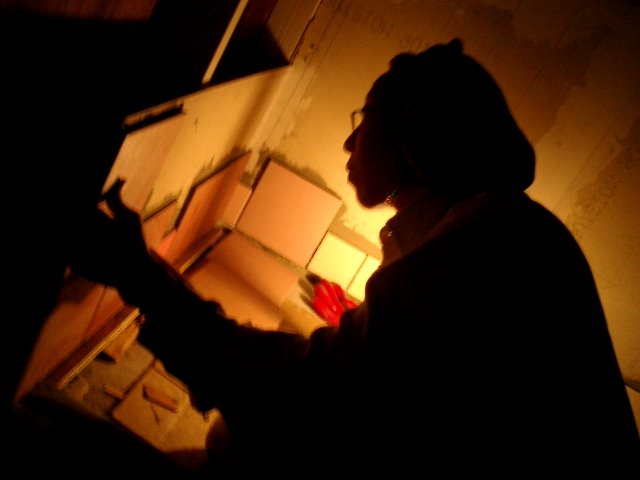
Sometimes she makes so much thinset that she has to keep working until past dark, so she keeps on going with a lantern. Here, her hair is up in a kerchief, in her 'Gypsy Tile Woman' outfit.


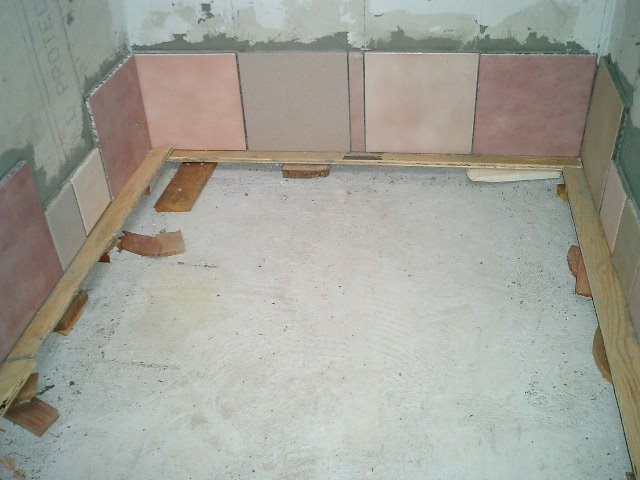
Here's a specific photo of 'the first course' (the first row to all you amateurs) with a little wooden shelf to hold them in place, since the floor tiles will have to fit under them eventually. Thanks Karl for the continuing stream of good tile advice! Melissa's dad actually did all the tough work of making those wooden shelves and making sure they were level. Thanks Art!

Design Mistakes in my cob house

So, I have long meant to create a list of mistakes I made when designing the finishings on our house.  Now that we've lived in it for a ...