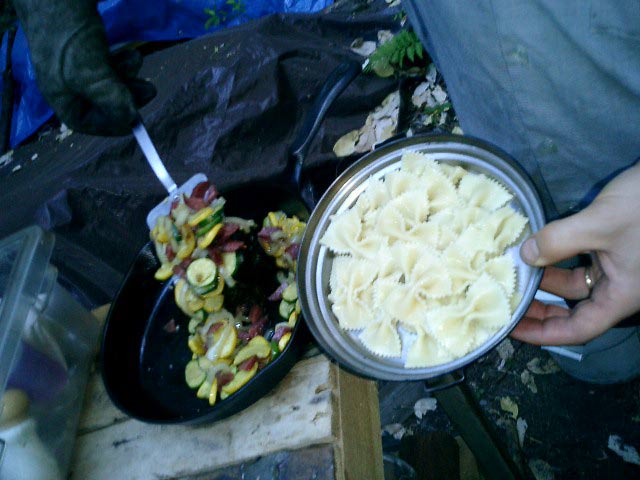
During one of our meal breaks, Tys modified an old stump in our outdoor kitchen using some scrap wood to give us some additional counter space.

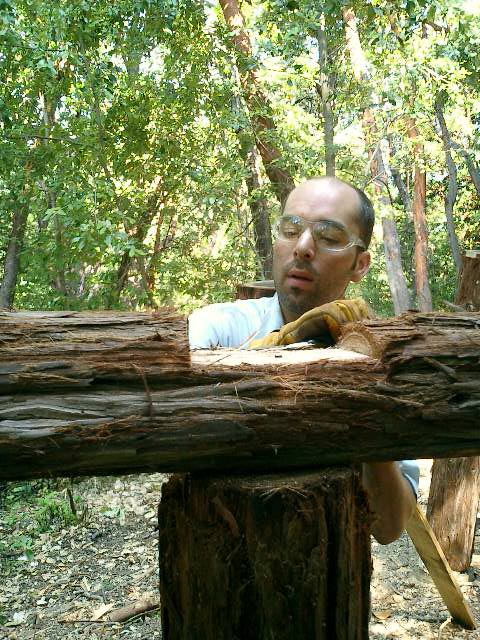
Melissa did the measuring and math to calculate where and how big the beam notches should be. We notched the beams with a little circular saw work, then the good old chisel and hammer, so that they would fit snugly over the tops of the posts.

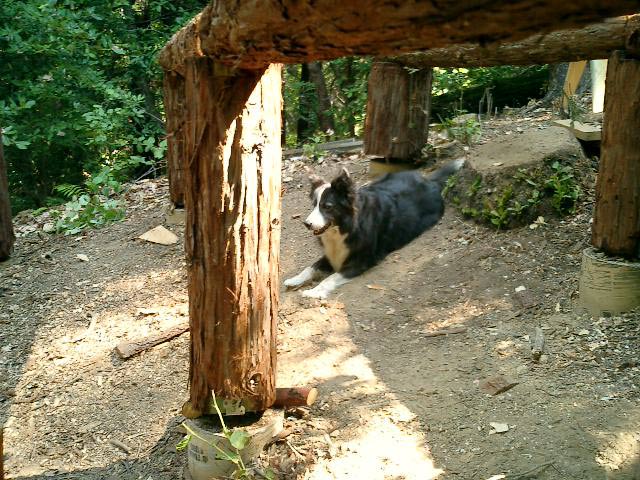
Scout comes down to the work site in the mornings to supervise our work.

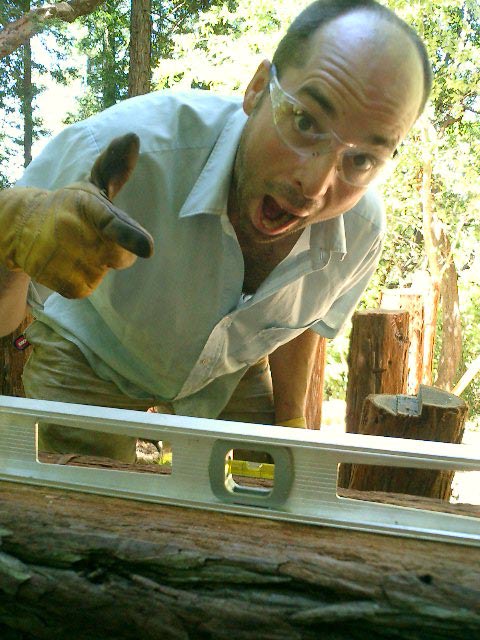
Our first beam, which crossed two posts, was perfectly leveled on our first try. What a confidence booster! They weren't all so cooperative, but we got them to match with some work.
At the end of our second week, we got all of the beams notched and in place on top of the posts.


No comments:
Post a Comment